(See my post about how I originally created this area of the garden here).

I started with the rockery on the right hand side. I wanted to make sure it wasn’t going to fall apart again so easily so I used a good amount of concrete plaster to make it nice and strong, something I didn't do so well last time.

Once I got the right hand rockery finished off I filled it with garden mix ready to plant out.

Before I fixed the one on the left I decided to fix up the paving between the rockery and the steps going down to the sleep out. I’d been wanting to do this for some time and had in mind a way of tying it in with the overall design.

I filled the main area of the path with concrete and exposed the aggregate on the surface to create a non-slip finish. Into the concrete I set 3 slabs of blue stone rock. I was really pleased with how this little piece of path turned out. In the mean time I was getting a bit impatient and decided to plant out the right hand rockery. As you can see, I decided to go for a tropical theme.
This all took place around the same time I transplanted a medium sized Bangalow palm in the small garden next to the lower steps (see my post about that here)

So, it was now time to focus on the left hand rockery. By now the job had taken several months as I was just fitting it in around other tasks. I only worked on it when I had extra time and was in a patient mood.


Once I got all the stones in place and the pointing between them was done it was time to fill it with garden mix and to think about what I was going to plant.

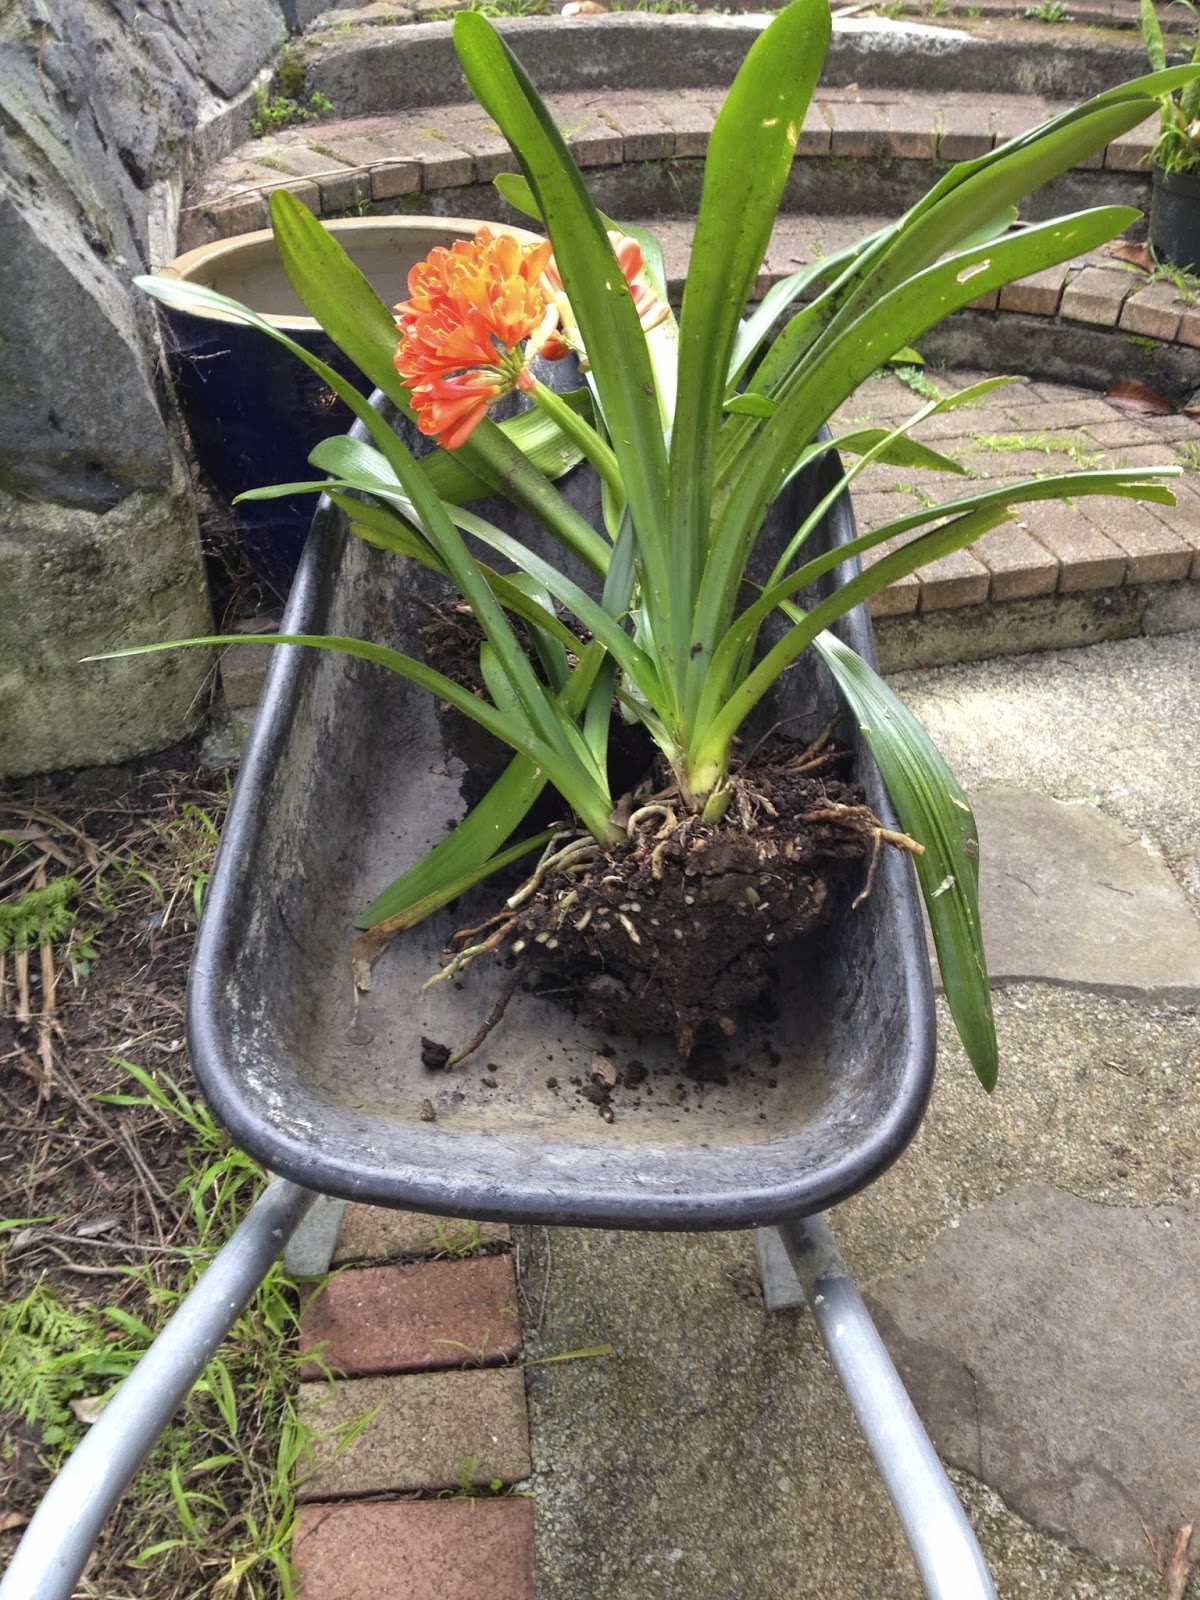
In keeping with the tropical theme, I had another bungalow palm which I had temporarily put in a large pot. I also had a few Clivias growing in various places around my garden which I decided to transplant. Using these would save me spending any more money. Clivias are very easy to divide up and produce a wonderful display of colour in the spring. They grow really well, even in the shade.

So finally, after several months I got it to a point where it’s all repaired and planted out and it’s now quite pleasant walking through this area...

The tropical theme seems to be working pretty well through this part of the garden now...


The tropical theme seems to be working pretty well through this part of the garden now...

Shame about the weeds growing between the pavers, which is an ongoing issue as I prefer not to spray them.

Eventually I’d like to replace the pavers with solid concrete the same way as I exposed the aggregate on the little path at the bottom. But that probably won’t happen any time soon. In the mean time I'll probably just keep using the weed eater to control them.
*****************************
Update (1 April 2019)
In the 5 years or so since I completed the planting in this area, the palms and other plants have become well established and have grown significantly...


